A Complete Guide to Crawl Space Encapsulation and Its Benefits
This crawl space encapsulation guide shows how to seal the ground, walls, and vents so damp air can’t reach your…


This crawl space encapsulation guide shows how to seal the ground, walls, and vents so damp air can’t reach your floor framing. Fix leaks and mold first, lay a taped liner over the floor and walls, close the vents, then add a dehumidifier to keep humidity under control all year.
Encapsulation is more than laying plastic over dirt. Think of the whole crawl space as one sealed zone where moisture has fewer ways in.
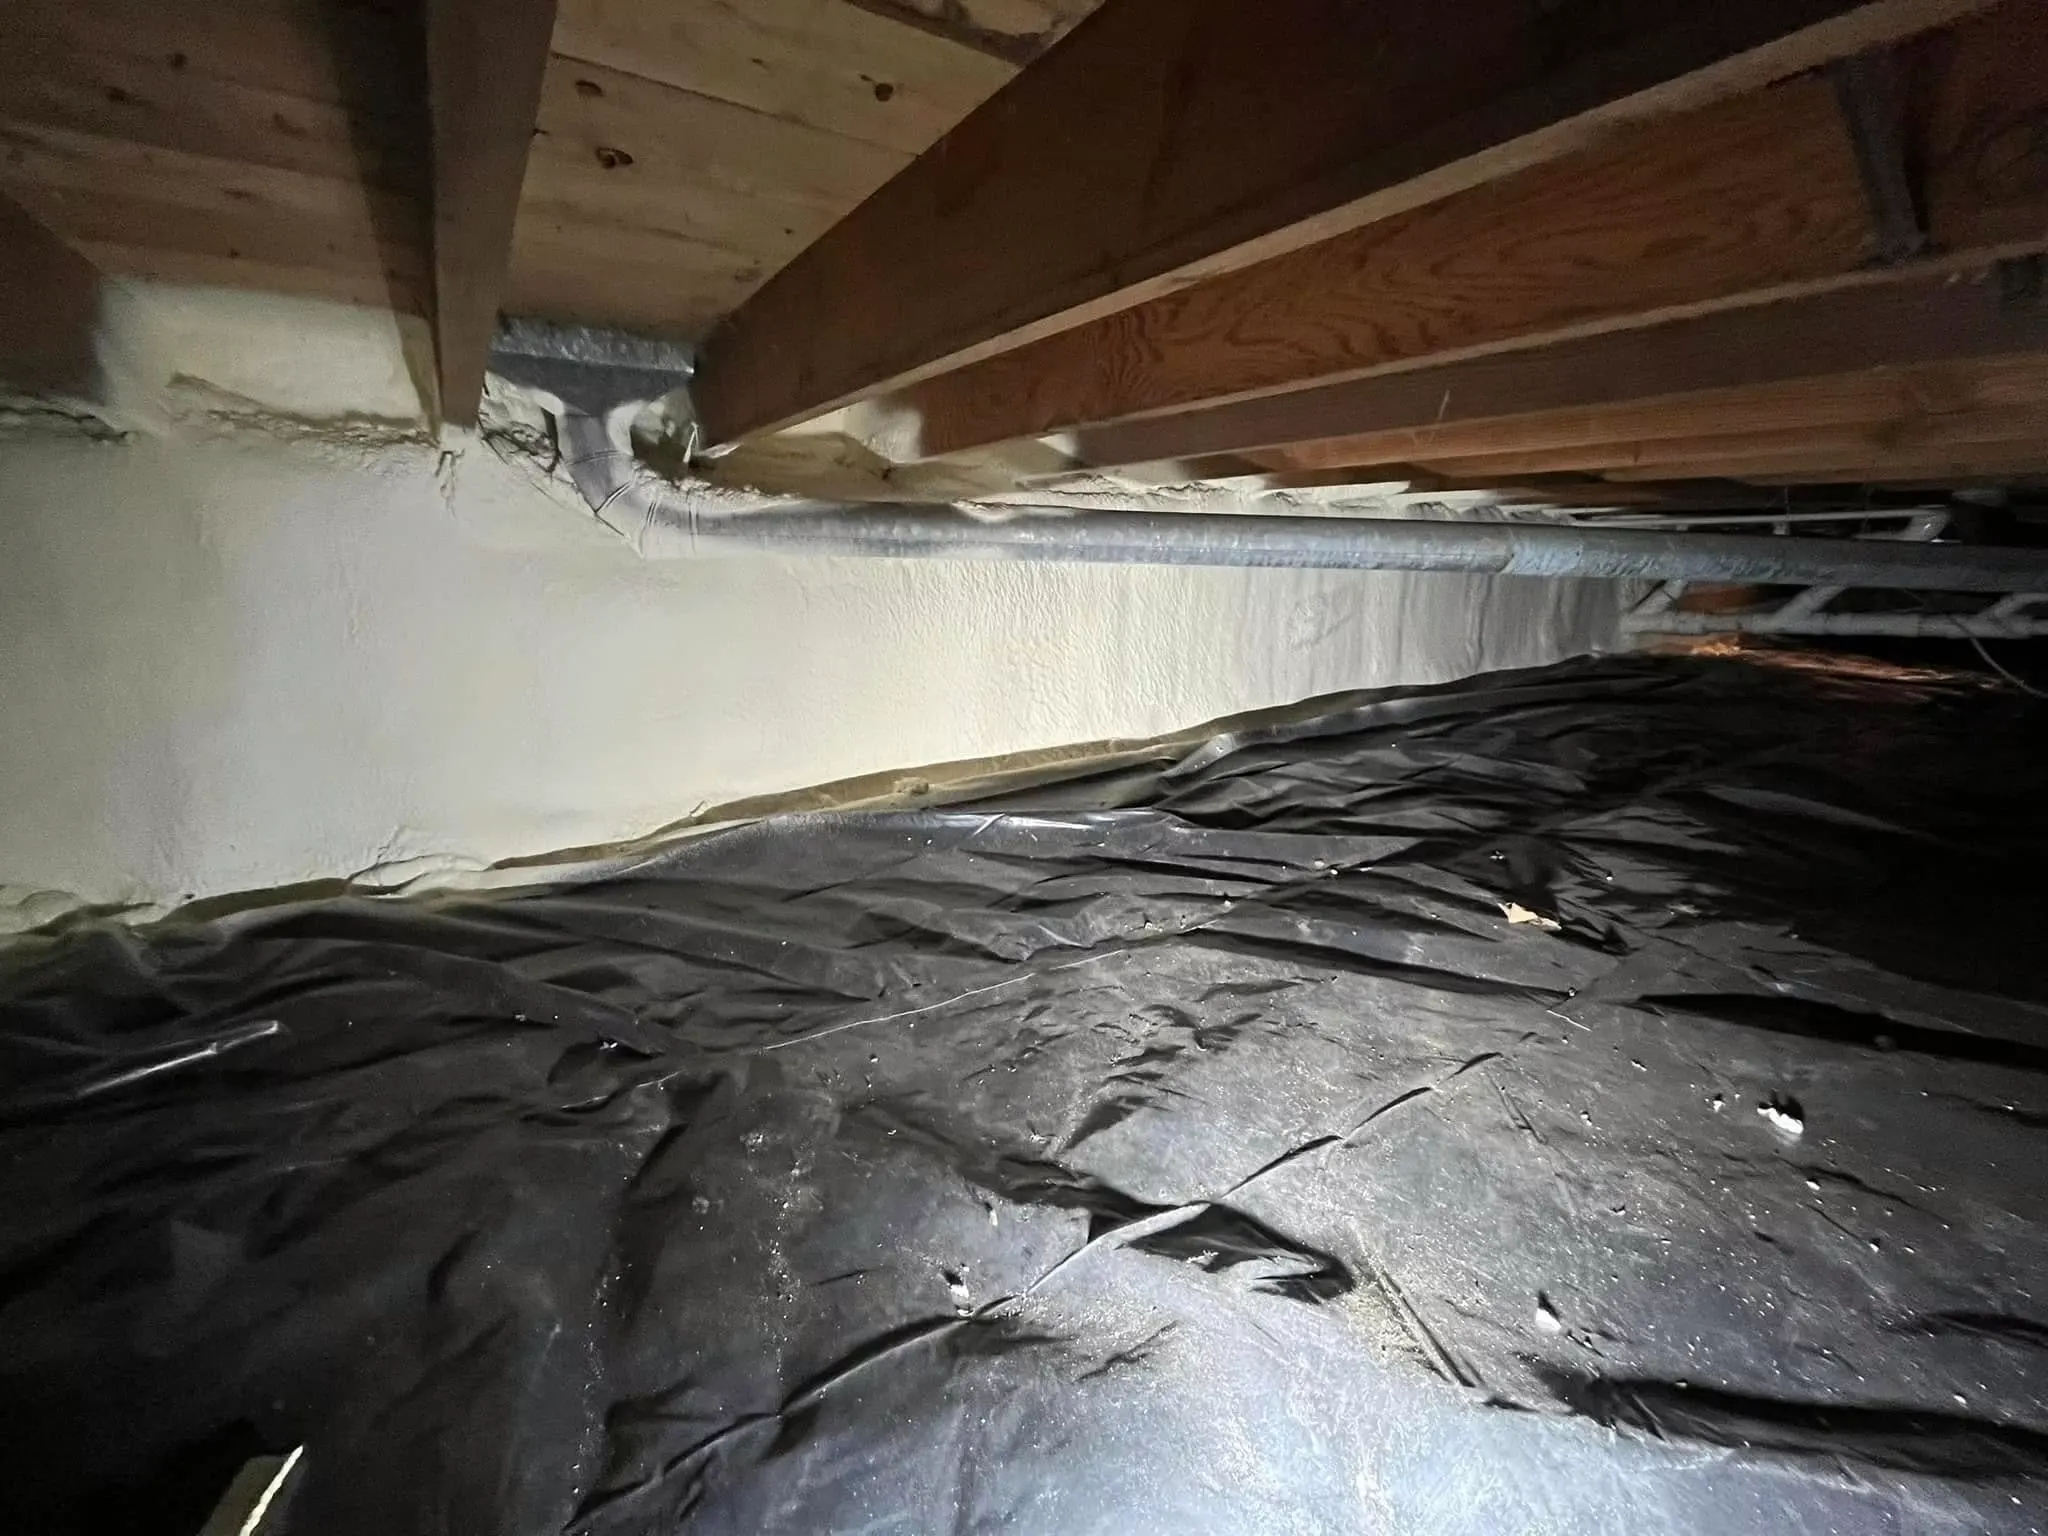
A Crawl Space Vapor Barrier System covers the floor and climbs the walls, with taped seams, closed vents, and sealed gaps. Insulation and a dehumidifier finish the job in most homes. A bare sheet of plastic only slows ground moisture, and it won’t stop humid outside air from coming through open vents.
A damp crawl space rarely stays a crawl space problem. Moisture, mold spores, and musty air move up into the rooms above.
The main Crawl Space Encapsulation Benefits are drier framing, fewer musty odors, and steadier floor temperatures. Warm air rises through your house and pulls replacement air up from below, so whatever sits under your floor ends up in your living space.
Humidity is where sealing shows its value. A study of 12 North Carolina homes, covered by Energy Vanguard, found sealed crawl spaces stayed under 60% relative humidity all summer, while vented ones tracked the humid outdoor air. Energy use drops too. U.S. Department of Energy research reported 15% to 18% lower heating and cooling use in unvented, conditioned crawl spaces, though your savings will depend on your home.
Not every crawl space needs this work, and some need repairs first. A quick look tells you which group yours falls in.
Best Crawl Space Encapsulation Project Planning starts with an inspection and a moisture reading, not a quote. Decide what needs repair, cleaning, or removal, then ask each contractor for an itemized scope. Price depends on crawl space size, condition, and materials, so compare line items instead of totals.
Encapsulation costs more up front than plastic alone, and it adds equipment you’ll need to look after. Those are fair concerns, so weigh them against the damage a wet crawl space can cause over the years.
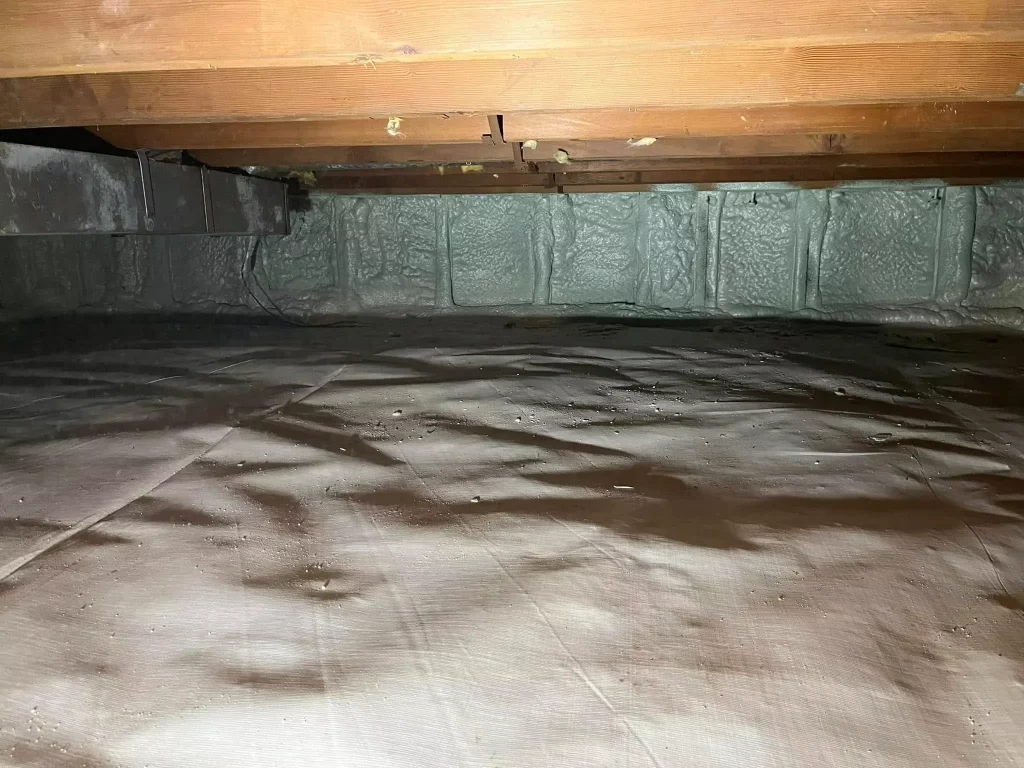
Order matters here. Laying a liner before fixing a leak just seals the water in.
Here are the Crawl Space Encapsulation Installation Steps in the order that works best:
Quality Crawl Space Sealing Materials matter as much as the order. Many installers use reinforced liners of 12-mil or thicker, along with seam tape, mechanical fasteners, foam board, and sealant made for damp spaces. A thicker sheet holds up better to sharp rock and foot traffic.
Sealing starts the job. Keeping the space dry takes a few small habits.
Post-Encapsulation Humidity Management means watching the numbers. Put a hygrometer in the space and aim for relative humidity under 60%. If readings stay high for weeks, look for an unsealed gap, an undersized dehumidifier, or water getting in.
If you smell dampness, see sagging insulation, or notice high humidity under your floors, we can look at what’s going on and explain your options. We’ll tell you whether sealing makes sense or whether repairs come first.
Call South Chicago Insulation today.
Some homeowners handle the liner, but most full jobs are better left to a pro. Sealing piers, walls, and vents correctly is harder than it looks, and mistakes trap moisture.
No. Sealing controls the moisture that feeds mold, but existing growth needs to be cleaned or removed before the liner goes down.
Many installers recommend a crawl-space-rated unit instead. A standard model is built for living areas and often struggles in a cool, damp space, while a rated unit can drain on its own.
It can reduce soil gas and the damp that pests like by covering bare ground, but it isn’t a radon or pest treatment. Test for radon and ask about pest control separately.
Humidity can stay high, because sealing blocks new moisture but doesn’t remove what the soil, wood, and trapped air already hold. Plan on active humidity control.